Choosing the right resistance band is crucial for maximizing the effectiveness of your workout routine. With a diverse range of options available, it’s important to consider various factors to ensure that you select the best one for your specific fitness goals and needs. In this guide, we will explore essential tips for selecting the ideal resistance band and delve into why purchasing from a reputable source like Weights And Glory can elevate your training experience.

Certainly! Here’s a guide for identifying specific exercises for resistance bands and evaluating strength and flexibility goals based on your fitness goals and needs:
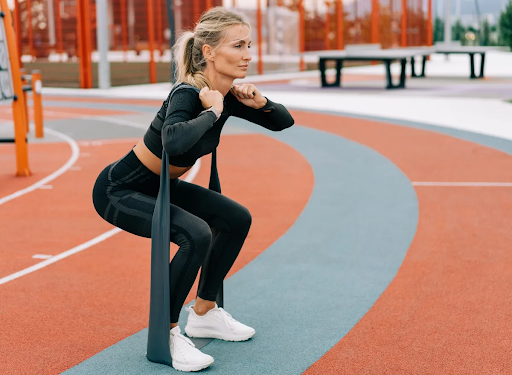
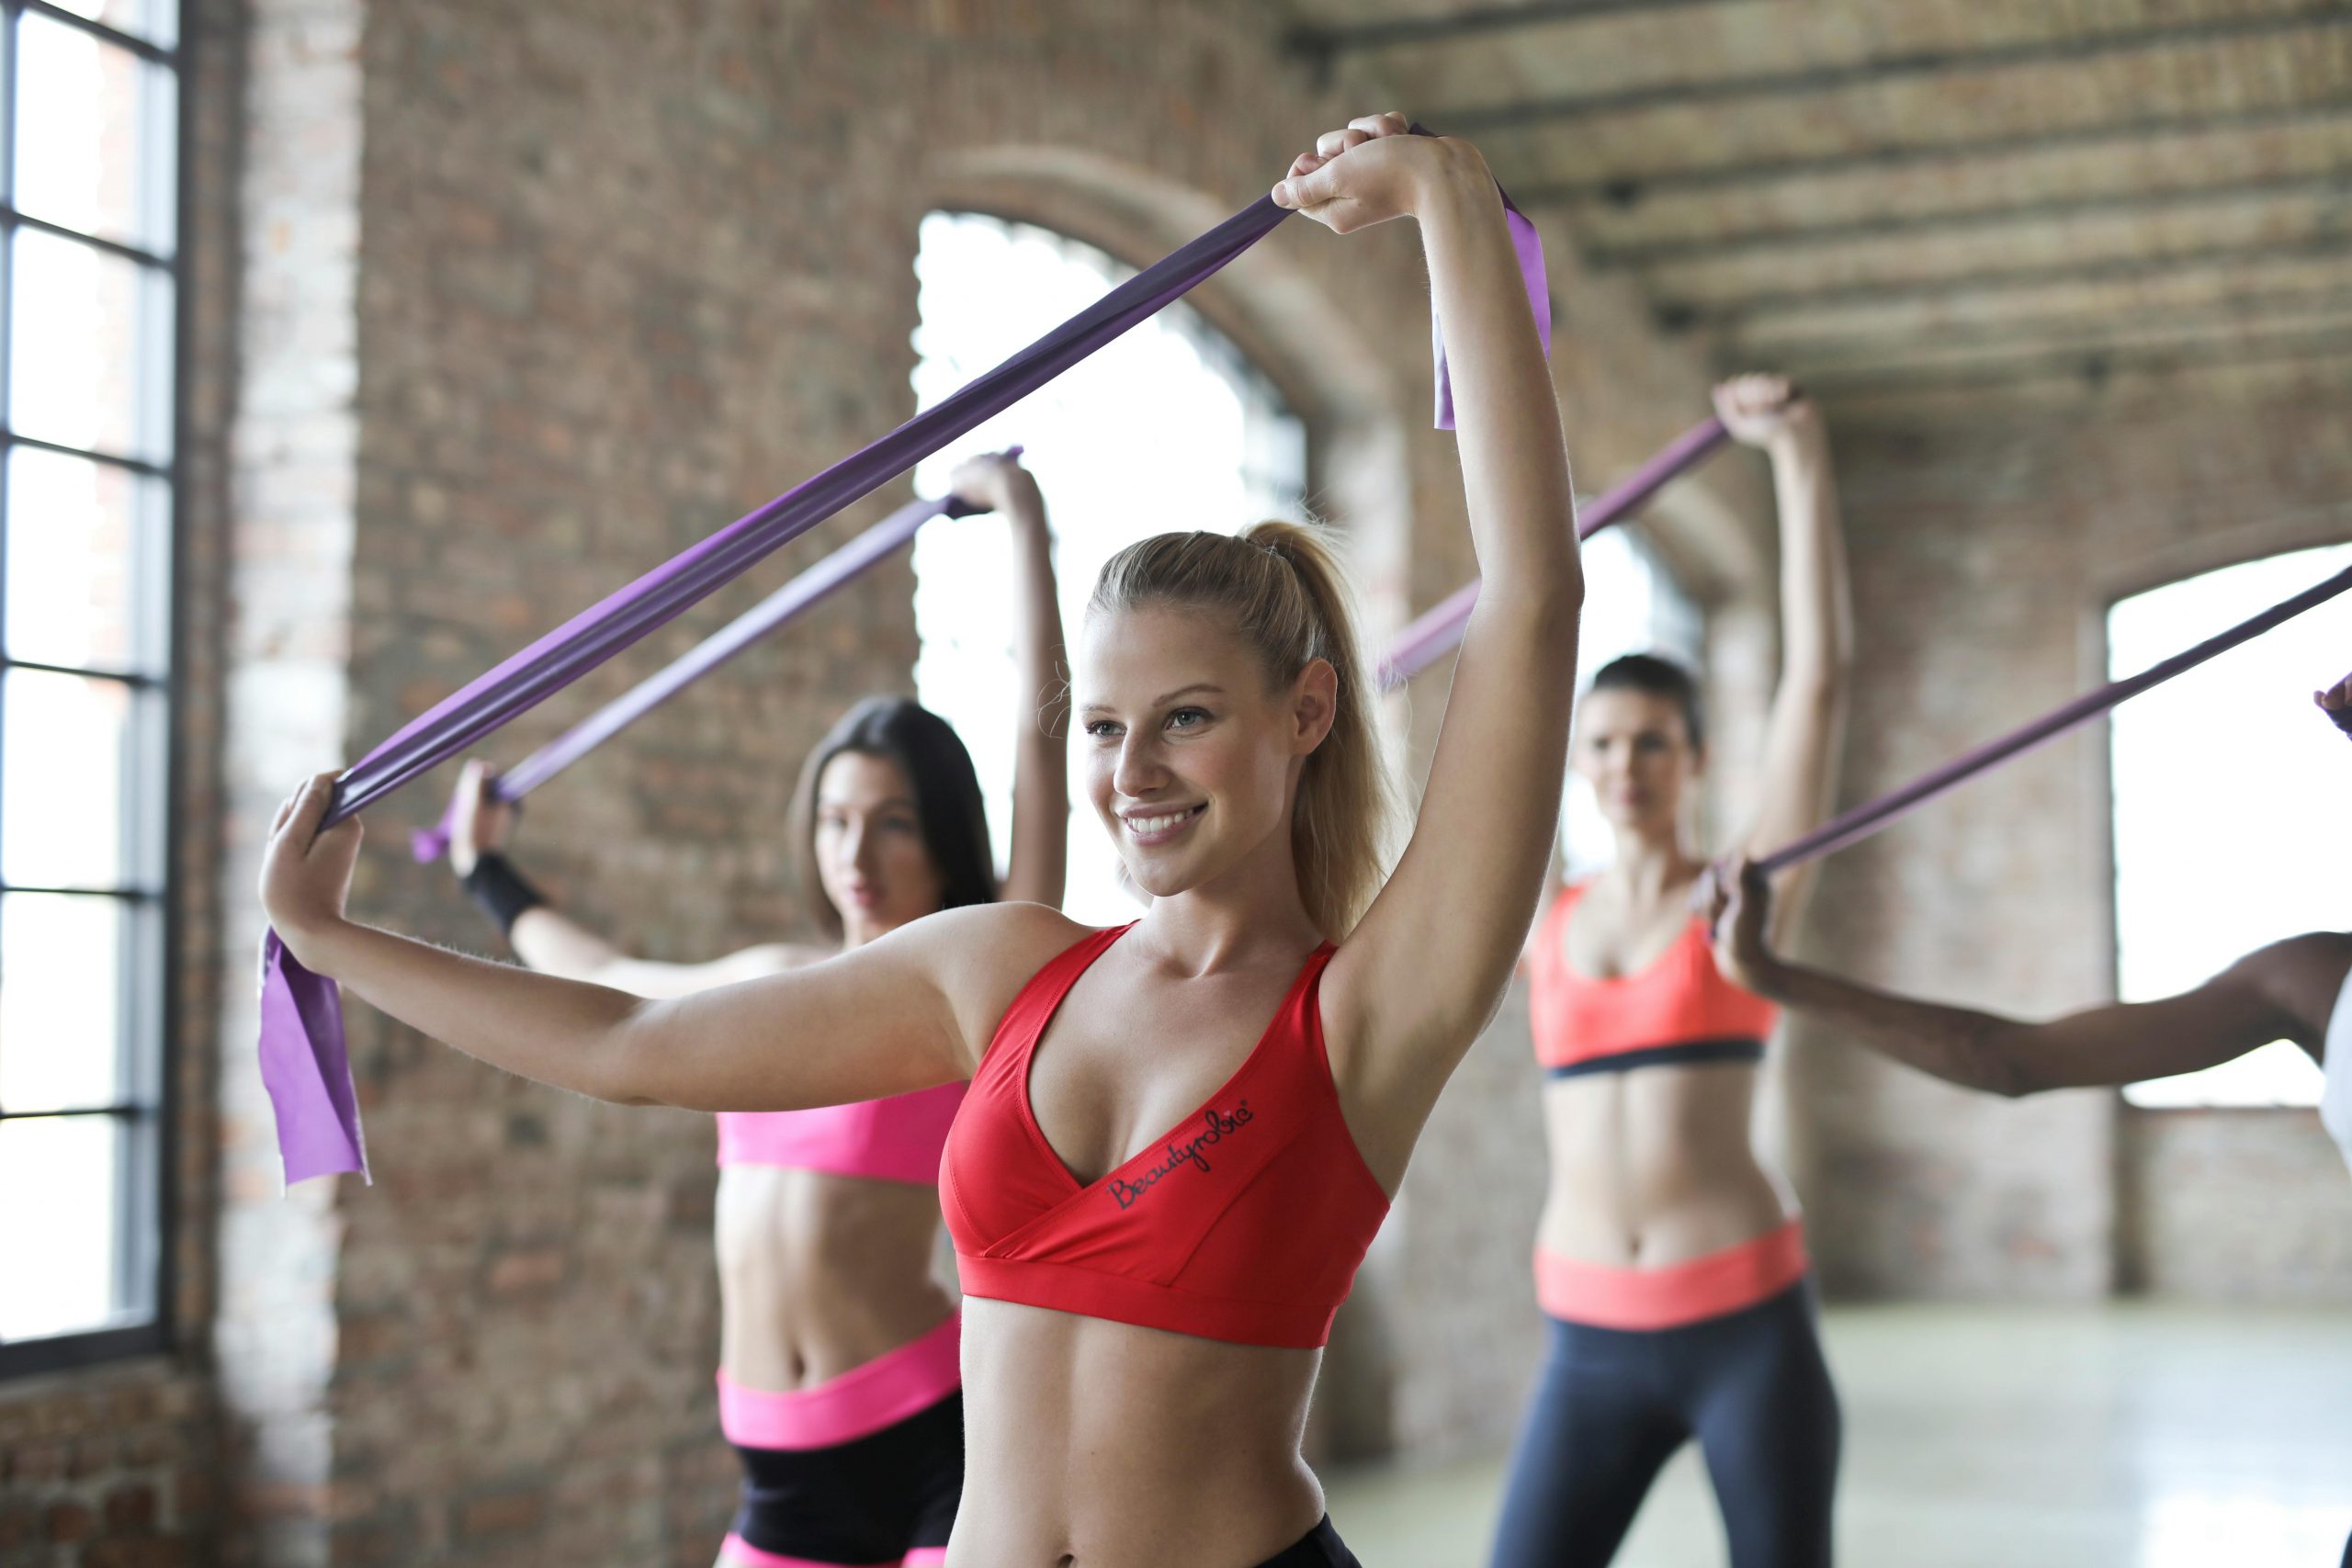
1. Upper Body Exercises
2. Lower Body Exercises
3. Core Exercises
4. Full Body Exercises
1. Strength Goals
2. Flexibility Goals
3. Balance Strength and Flexibility
4. Regular Assessments
Understanding the resistance level of a resistance band is crucial for designing an effective workout routine that aligns with your fitness goals. Here are considerations for gauging tension ratings and progressing with resistance bands
1. Color Coding. Many resistance bands are color-coded to indicate their level of resistance. However, keep in mind that color coding may vary between manufacturers, so always check the specific resistance levels associated with each color.
2. Resistance in Pounds or Kilograms. Some bands are labeled with their resistance level in pounds or kilograms. This provides a more quantitative measure, allowing you to choose bands based on your desired intensity.
3. Variable Resistance. Some bands offer variable resistance throughout the range of motion. For example, a band may provide more resistance at the peak of a movement. Understanding these variations can help tailor your workouts.
4. Combining Bands. You can combine multiple bands to increase resistance. Ensure compatibility and safety by using bands of the same brand or type, and be mindful not to exceed the maximum resistance capacity.
5. Manufacturer Guidelines. Refer to the manufacturer’s guidelines or product information for specific details on the resistance level of the band. This information is typically provided by the manufacturer and can guide your selection.
1. Start with a Lighter Resistance. If you are new to resistance training or trying a new exercise, start with a lighter resistance band. This allows you to focus on proper form and gradually build strength.
2. Progressive Overload. Over time, gradually increase the resistance to ensure progressive overload, which is essential for continued strength and muscle gains. This can involve using a thicker band, increasing the length of the band, or combining bands.
3. Assess Your Strength. Pay attention to how challenging the exercises feel. If the band is too easy, it may be time to progress to a higher resistance level. If it’s too difficult and compromises your form, consider using a lighter band.
4. Monitor Strength Gains. Track your strength gains over time. If you find that a certain resistance level becomes too easy, it’s a sign that your muscles have adapted, and you may need to advance to a higher resistance.
5. Mix Resistance Levels. Incorporate a variety of resistance levels into your workouts to target different muscle groups and provide well-rounded training.
6. Periodic Assessment. Periodically reassess your fitness level and adjust your resistance bands accordingly. Your strength and fitness goals may evolve, and your resistance levels should align with these changes.
Assessing the quality and durability of resistance bands is crucial to ensure their effectiveness and safety during workouts. Here are considerations for both material and wear-and-tear aspects:
1. Material Type
2. Layering. Look for layered bands, as multiple layers can increase the overall strength and durability of the resistance band.
3. Handles and Attachments. If the resistance band has handles or attachments, check for sturdy materials such as reinforced plastic or metal. The attachment points should be securely stitched or molded.
4. Allergen Considerations. If you have latex allergies, opt for latex-free options. Many bands are available in non-latex materials like TPE (thermoplastic elastomer) or fabric.
5. Thickness. Thicker bands tend to be more durable. However, the thickness should still allow for the desired level of resistance for your workouts.
1. Visual Inspection. Regularly inspect the resistance band for any visible signs of wear, such as small tears, fraying, or discoloration.
2. Testing Elasticity. Stretch the band gently and check for any unusual stretching, snapping, or loss of elasticity. Over time, bands may lose their resistance, affecting the effectiveness of your workouts.
3. Checking Handles and Attachments. Inspect handles, loops, or attachments for signs of wear, including cracks, tears, or weakened connections. This is especially important for bands with handles or those used for specific exercises with attachments.
4. Storage Conditions. Store resistance bands in a cool, dry place away from direct sunlight. Prolonged exposure to sunlight and heat can degrade the material over time.
5. Cleaning. Clean the bands regularly to remove sweat and dirt. Follow the manufacturer’s instructions for cleaning to avoid damaging the material.
6. Avoid Sharp Objects. Keep resistance bands away from sharp objects or rough surfaces to prevent punctures or abrasions.
7. Replace When Necessary. If you notice significant wear or if the band breaks, replace it promptly to prevent injury. It’s better to invest in a new, reliable band than risk injury due to a compromised one.
High-Quality Materials to Ensure Safety and Durability
Customer-Centric Approach in Product Design
Variety of Options and Accessories Including Customized Sets
Compact, Travel-Friendly Designs
Conclusion
In conclusion, selecting the right resistance band is a key step toward achieving your fitness goals safely and effectively. Remember to identify your fitness objectives, understand resistance levels, and prioritize quality materials and versatility. For a reliable and customer-centric approach to resistance bands, we recommend Weighs & Glory. Their commitment to high-quality materials, user-friendly design, and a variety of options make them an excellent choice for anyone looking to enhance their workout routine. Elevate your fitness journey with Weighs & Glory, where your progress truly matters.